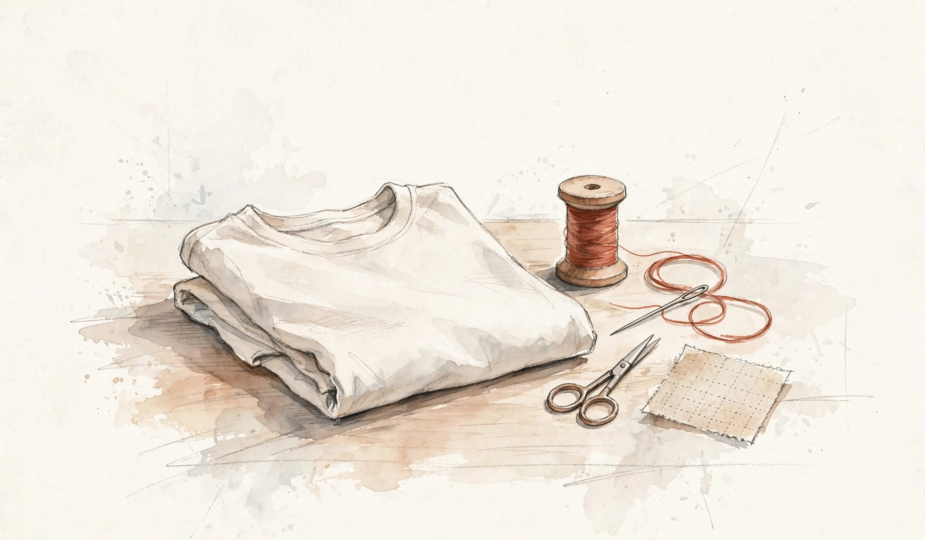
It starts as a pinprick. A tiny hole in the front of a favourite T-shirt, almost always in the same place — around stomach height, on a shirt that is otherwise perfectly good. Not moths, usually. Not bad luck either. Those little holes are abrasion, and they follow a map you can read.
Here is the honest version: a small hole is one of the easiest repairs in the wardrobe, and one of the easiest to get wrong by choosing the wrong fix. The right repair depends on three things — the size of the hole, where it sits, and whether the fabric around it is still sound. Get those right and three methods cover nearly every case: stitch it, fuse it, or patch it. Most take minutes.
Why the holes appear
Look at where the holes cluster and the cause names itself. Stomach height is waistband height: the front of a tee spends its day rubbing against a trouser button or a belt buckle, one small hard point working the same few yarns every time you sit, stand, and lean. The other usual suspects are the same kind of friction — a countertop edge you lean against while you cook or wash up, a seatbelt crossing the same diagonal, a bag strap worn on the same shoulder.
The wash finishes what friction starts. Agitation worries at fabric that is already thinned, until one yarn gives and a pinhole opens. That is why the holes arrive in clusters, on the shirts you wear most, in the spots that work hardest — and why the fix has to reckon with friction, not just close a gap.
First, assess the hole
Thirty seconds of looking saves a failed repair. Three questions:
Size. Pinholes and small holes — a few millimetres across, edges that meet when the fabric relaxes — are home-repair territory. A hole that is large, stretched out of shape, or gaping is a different job: it needs a patch, or it is beyond one.
Place. A hole in a flat, stable area — mid-front, mid-back — is straightforward. A hole at a seam edge or on a curve has nothing solid to anchor to and behaves worse; treat it as a patch job at minimum.
Fabric. The decisive test. Pinch the cloth around the hole and hold it to the light. If the surrounding jersey is thinned and papery, stitches and bonds will anchor into weak cloth and tear straight back out. Sound fabric around a small hole is what makes an invisible repair possible — the same kind of judgement you would use to read a garment’s construction before buying it.
What you need is short: a needle and thread that matches the shirt, small scissors, and — for the no-sew method — lightweight fusible interfacing, fusible webbing, and an iron. Everything else is already in the room.
One small mending kit covers the sewing side of all three methods — needles, assorted thread, scissors, in one place. The one we would buy is the Fiskars Travel Sewing Kit with Orange TSA-Compliant Folding Scissors, 27 Pieces: it holds what these repairs actually use, without the filler that pads out most kits.
Disclosure: the link above is an affiliate link. If you buy through it, The Brands Souk may earn a commission at no extra cost to you. The recommendation comes first; the link is only there if you want it.
Method one: stitch it — pinholes and the smallest holes
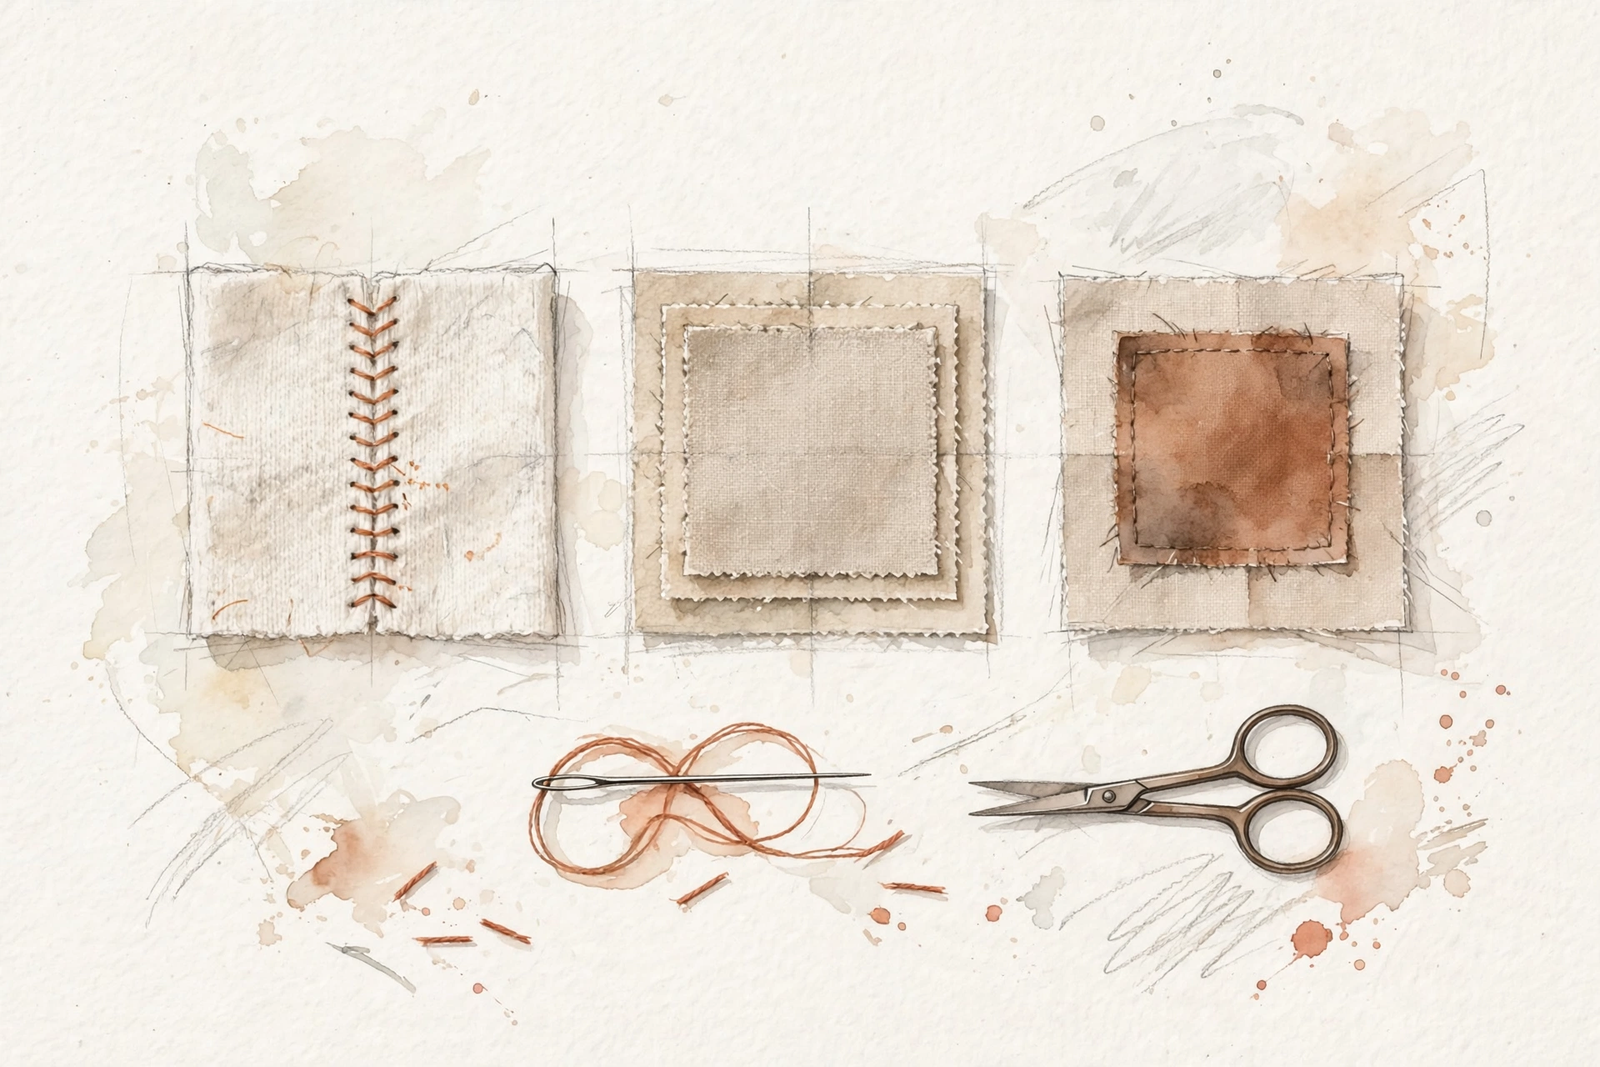
For a pinhole or a small hole in sound fabric, thread is the cleanest fix: nothing added, nothing stiffened, and on a small hole the mend all but disappears.
Turn the shirt inside out. You will work from the back, so the knot and the stitch ends stay hidden.
Thread up to match. A matte thread in the shirt’s own colour; the closer the match, the less the mend shows.
Stitch across, small and alternating. Take small stitches that alternate from one side of the hole to the other, catching sound fabric each time and drawing the edges together as you go. Small and close beats large and tight — jersey puckers if you haul on it.
Knot inside, trim close. Finish with a small knot on the inside and trim the thread ends short.
Done well, a stitched pinhole survives the wash and reads, from the front, as nothing at all. Its limit is size: once the edges are stretched or the hole gapes, stitching gathers the fabric into a pucker — which is the cue for method two or three.
Method two: fuse it — the no-sew fix
No sewing at all: a small bonded backing closes the hole from behind. The whole skill is one careful press of the iron — ten seconds, done properly.
Cut two squares. A square of lightweight fusible interfacing, roughly 1×1 inch, and a slightly smaller square of fusible webbing. Round off the corners of both; square corners are the ones that lift later.
Lay the shirt inside out on the ironing board, the hole smoothed flat.
Build the layers in order. Centre the webbing square over the hole, then lay the interfacing over the webbing — and check that no webbing peeks out beyond the interfacing. Stray webbing bonds to whatever it touches.
Press for ten seconds. Iron set to cotton, with steam. Set the iron down on the patch and press — do not slide or move it. Ten seconds, still. Moving the iron shifts the squares before the bond sets.
Flip and coax. Turn the shirt right side out and, with your fingernails, gently coax the edges of the hole closed over the bonded backing.
From the front, the hole reads closed; the support hides inside. Fusing suits the same small holes as stitching — pick it when you don’t sew, or when the fabric is too fine for stitches to sit well in.
Method three: patch it — when the hole is bigger
A patch is reinforcement, not concealment, and it is the right answer once a hole is large, stretched, or sitting somewhere stitches can’t hold. Cut the patch about half an inch larger than the hole on every side, in a fabric of similar weight. If you are choosing between two shades, the darker one blends better. Bond it with fusible web or stitch it down around its edge — bonded is faster, stitched is stronger, and a stitched edge done neatly is a finish, not an apology.
Which raises the honest option most repair guides skip: let it show. A clean patch, or a small embroidered motif over the spot, is a visible mend — a decision, not a failure. On a shirt you love, it usually looks better than a strained attempt at invisibility.
Repair, display, or retire
Repair it invisibly when the hole is small, the spot is stable, and the fabric around it is sound. Stitch or fuse; nobody will ever know.
Repair it visibly when the hole is bigger but the shirt earns it — the fabric is good, the fit is right, and a neat patch or motif reads as care.
Retire it when the fabric around the hole has thinned. Every method anchors into the cloth around the damage; if that cloth is weak, the mend tears out and takes more fabric with it. Seam-edge damage usually belongs in this column too, or with a tailor.
Stop the next one
Prevention is just the hole map, read backwards. If your holes live at the waistband line, reduce the rub: a smoother buckle, a button cover over the trouser button, or the shirt tucked or layered where it meets the hardware. Keep bag straps and seatbelts from sawing at exactly the same point, where you can. And wash your most-worn tees inside out, on a gentle cycle — friction thins them all week; the wash does not have to help.
A ten-minute mend is not really about one shirt. Keeping the clothes that fit your life in service is the other half of buying well — the half that happens at the ironing board, not the till.